To create tickets via the customer portal:
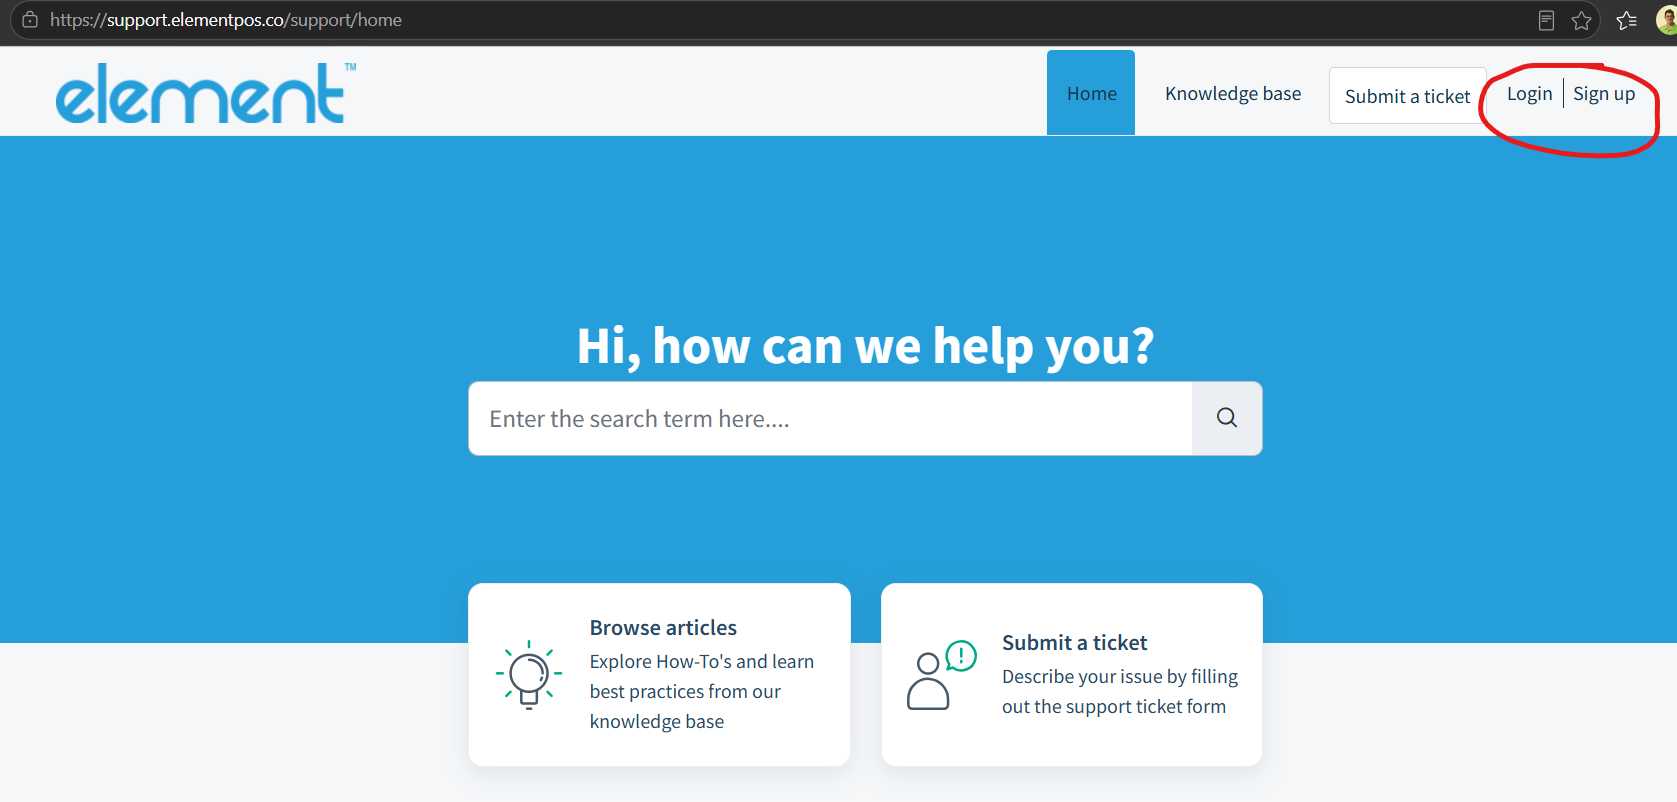
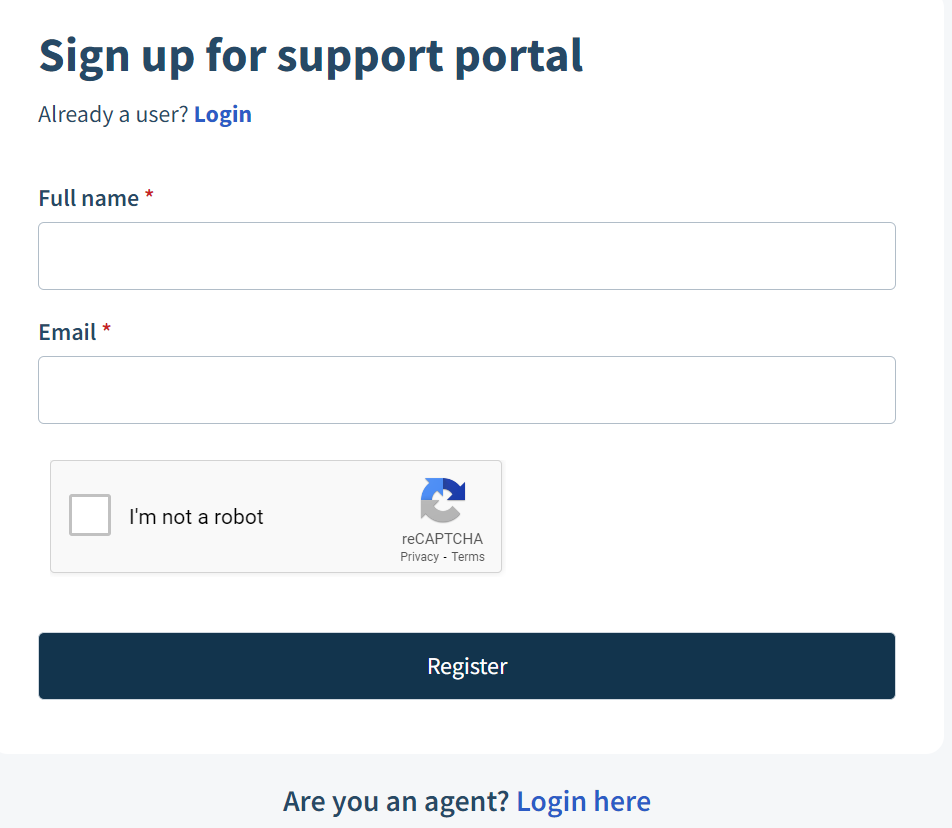
- After your customers log in (based on your Portal Settings), they can click on the Submit a ticket button.
- They will be taken to the ticket form where they can fill out information like their 'Email Address, 'Subject' and a 'Description' of the issue they are facing, along with additional information such as 'Name', 'Phone Number' or the 'Type' of the issue. They can also attach files to their tickets.
- If you have your Knowledge Base set up, Freshdesk will suggest the solution articles based on the query typed in the subject. This helps your customers get a solution without reaching your support and deflects tickets.
- Once they hit the 'Submit' button, the ticket will be created in your helpdesk with the 'Source' field value set to Portal.
- The ticket requester will be taken to the public ticket page where they can check the status of the ticket, add replies and notes to it when needed
Check tickets status
At any point, the requesters can log in and check the status of the tickets using the View all tickets option.
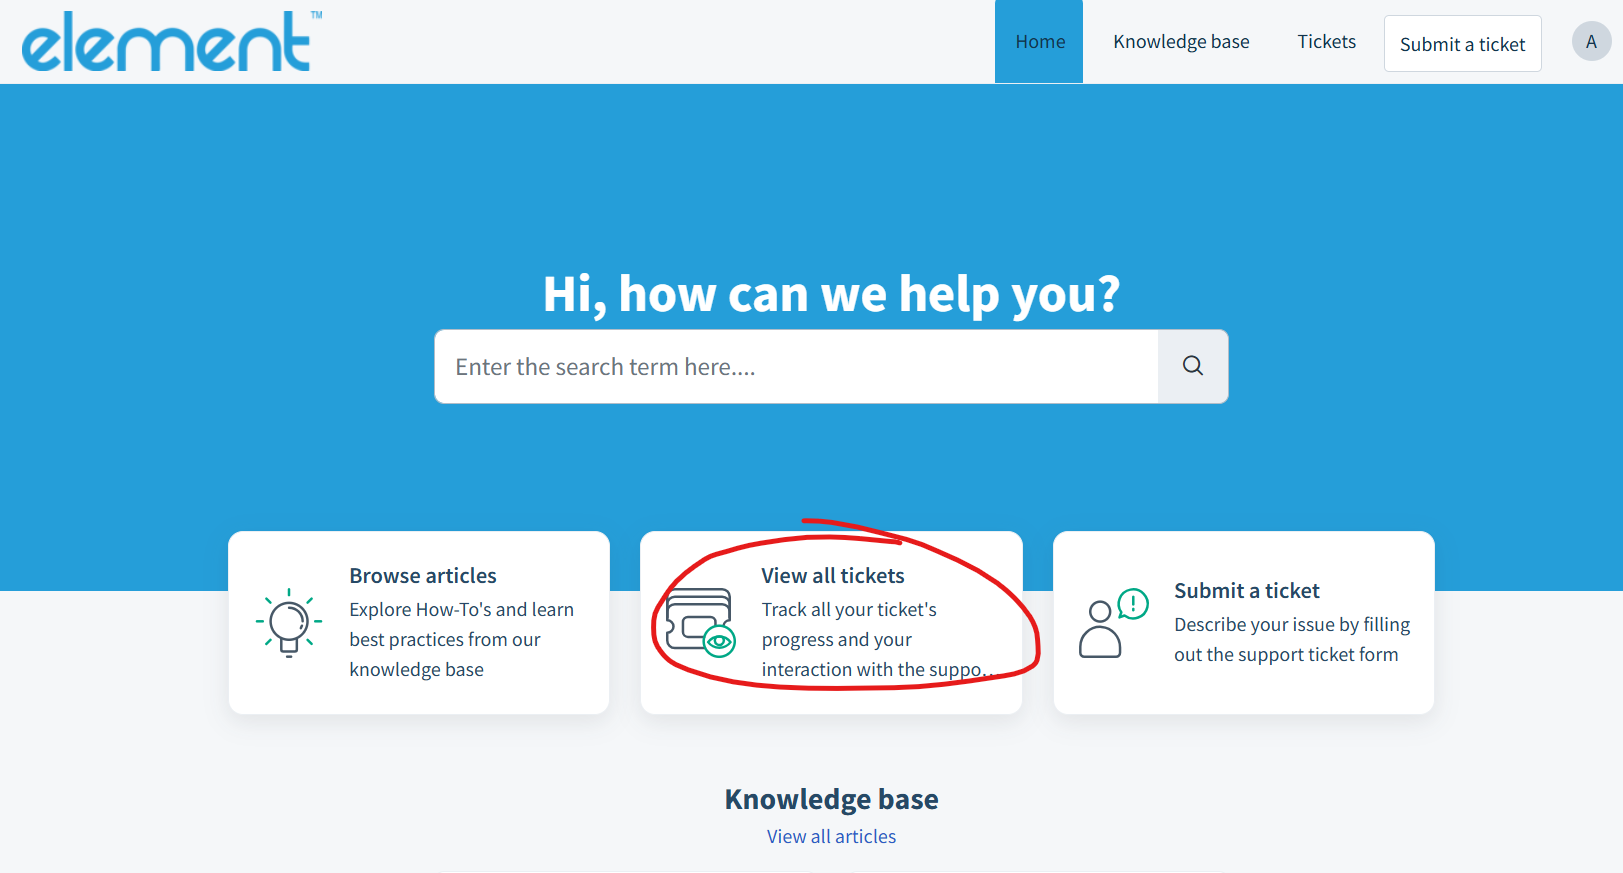
A ticket can have various statuses. The requester can filter tickets based on the 'Status' drop-down.
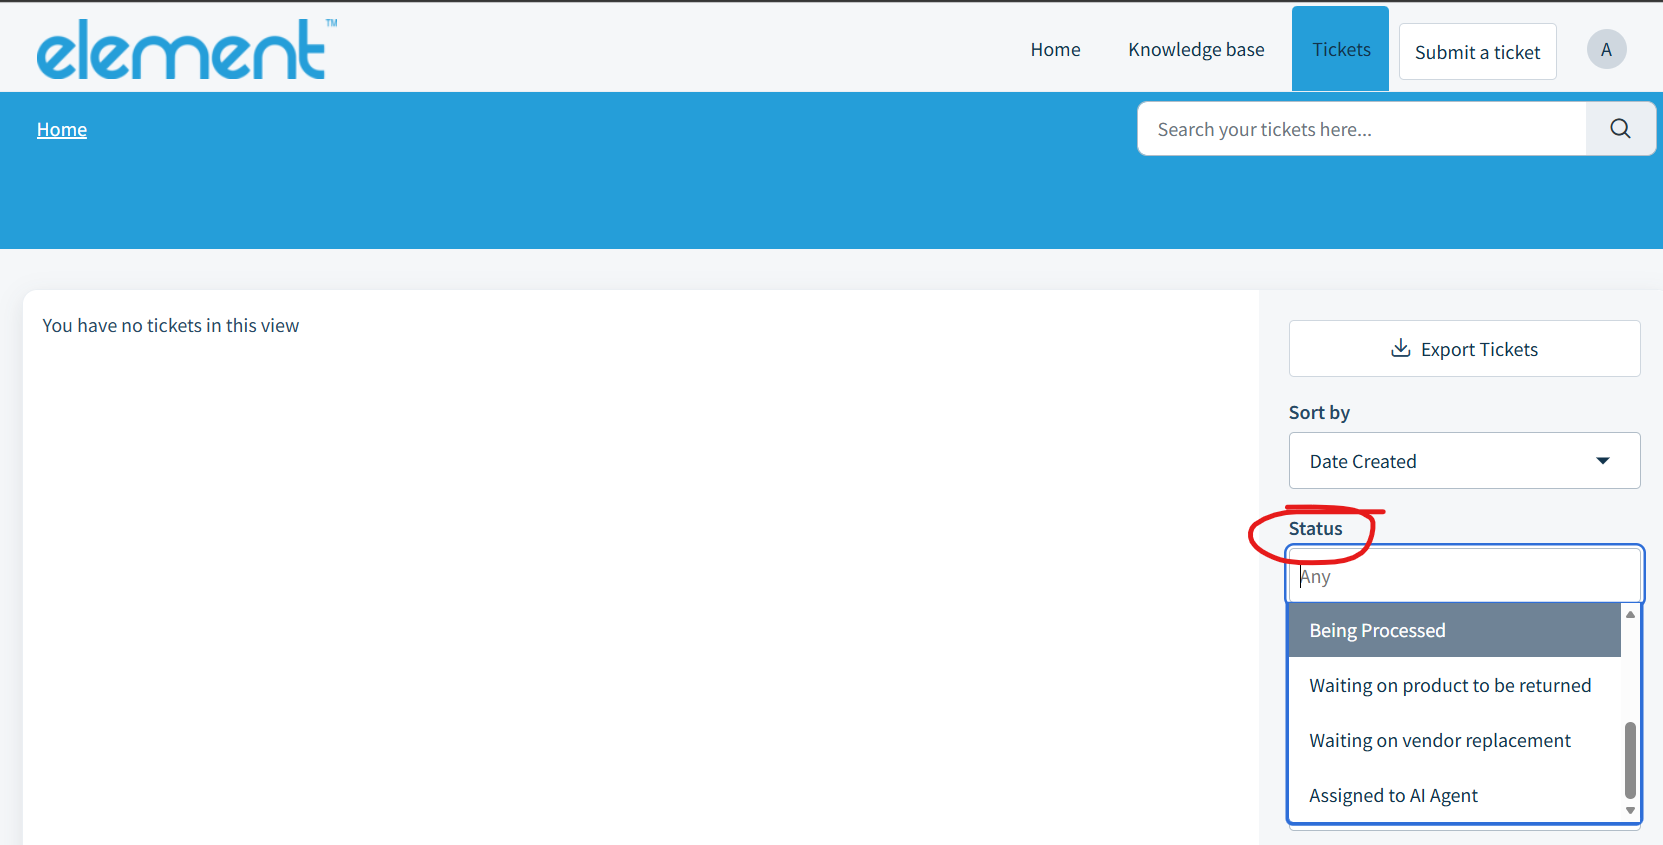
All Tickets view
Shows all the tickets raised by the requester in the helpdesk.
Open or Pending tickets
For an agent, every ticket that comes in will be in the Open status by default. The agent can change the status of the ticket to Pending when they are awaiting a response from the requester or if they're waiting for more information from a third party. The SLA timers do not run when a ticket status is Pending. For a requester, all open or pending tickets have a status of Being processed (modifiable).
Resolved or Closed
The ticket is marked as Resolved when the agent provides the solution for the customer's question/issue. The ticket is marked as Closed when the customer confirms the resolution of the ticket.
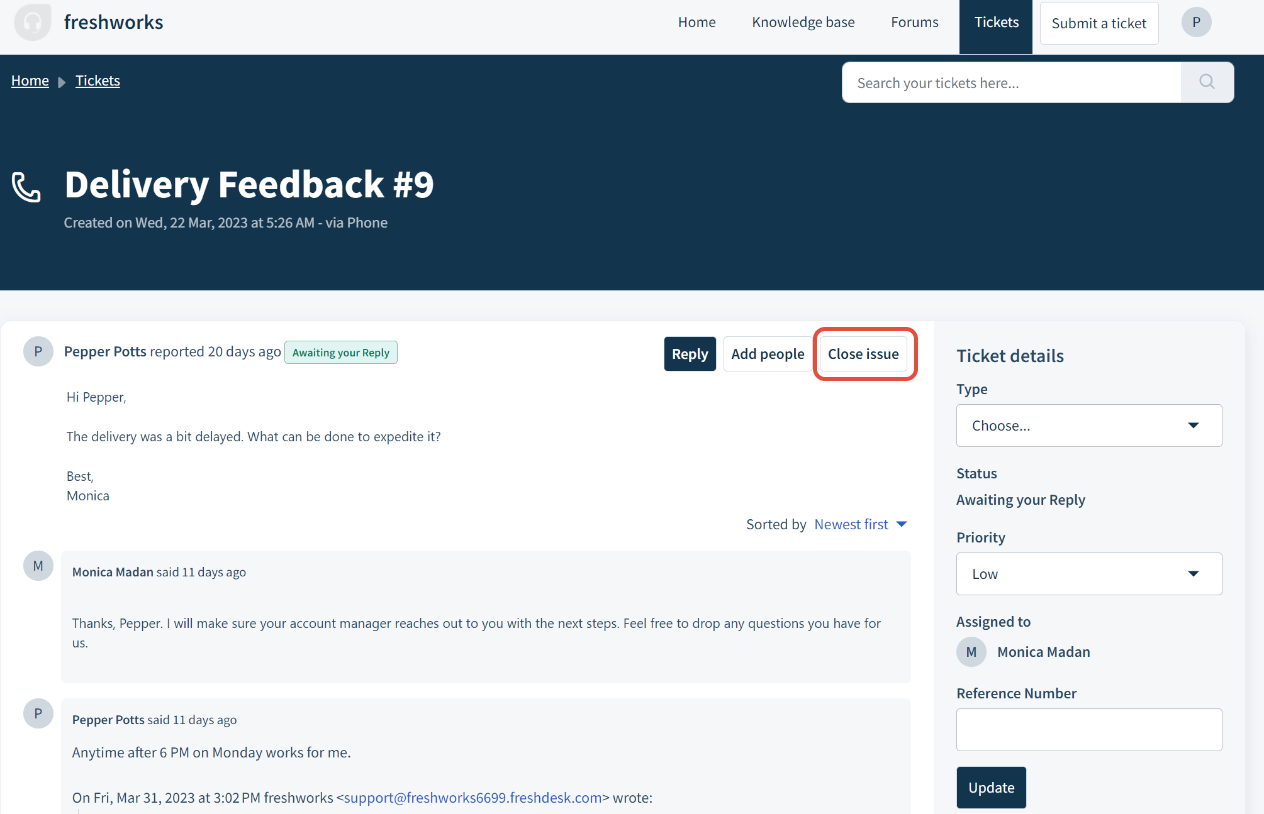
The customer can reply to the ticket at any point to reopen for further questions.
Update profile details
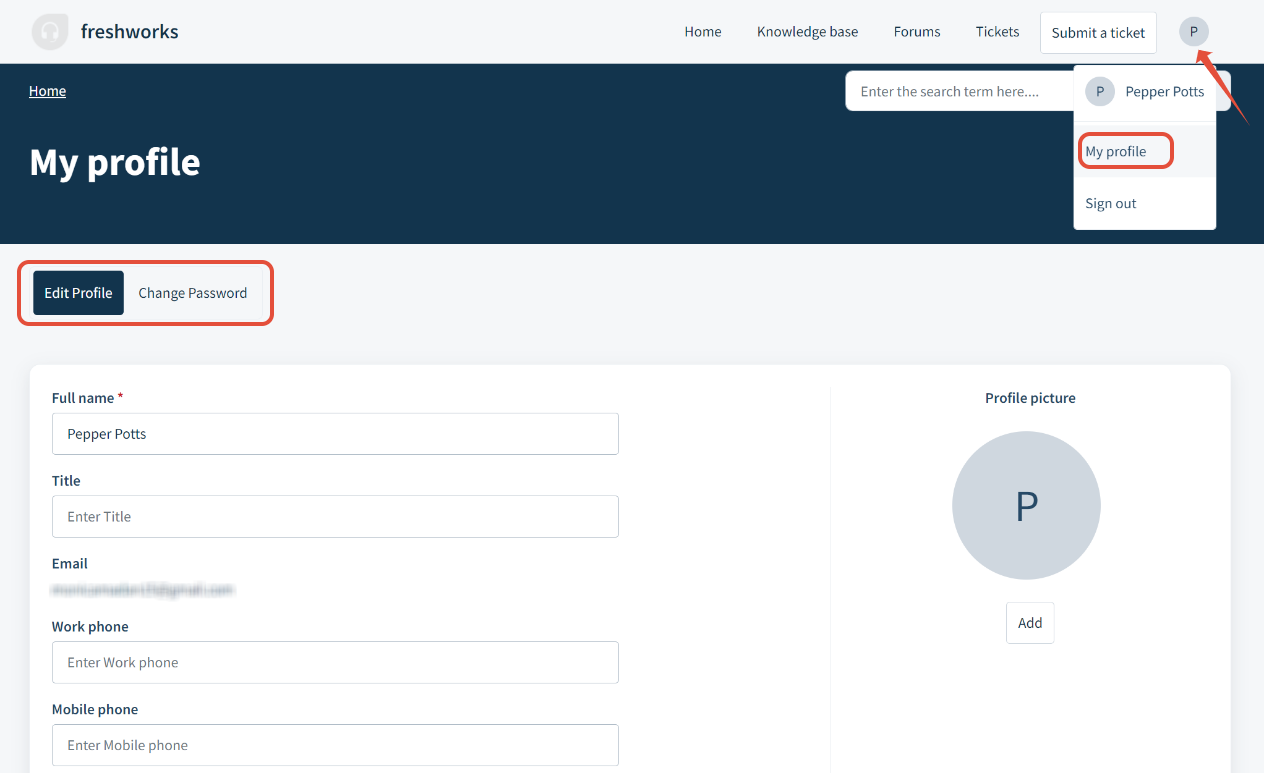
- Click on your profile name on the top right corner > Edit profile.
- In the profile settings page, you can edit your name, password, phone, photo, timezone, and language.
- Click Save changes.